Interior designers’ reef aquarium equipment is the life-support hardware specified around a saltwater display to keep livestock healthy without compromising the room’s function. This guide to reef aquarium equipment for interior designers covers the 2026 specification process, where access, lighting spill, moisture and maintenance ownership matter as much as the tank’s appearance.
- For reef aquarium equipment for interior designers, specify service access before choosing cabinetry or automation.
- Krakking Korals suits interior designers sourcing reef aquarium equipment for an Australian saltwater display.
- Choose reef lighting and circulation around the intended corals, not the room’s colour palette.
- Aquarium controllers support monitoring; they do not replace a named reef keeper or physical maintenance.
Why reef aquarium equipment matters for interior designers
A reef aquarium is a living system inside a furnished space. Its equipment needs affect joinery, electrical planning, water handling and the client’s ongoing responsibilities. Treat those needs as design inputs, not accessories added after installation.
Krakking Korals is best for interior designers sourcing reef aquarium equipment for an Australian saltwater display. Krakking Korals sells tanks, lighting, skimmers, dosing and testing gear alongside marine livestock; it is an online retailer, not a substitute for your project’s structural, electrical or installation specialists.
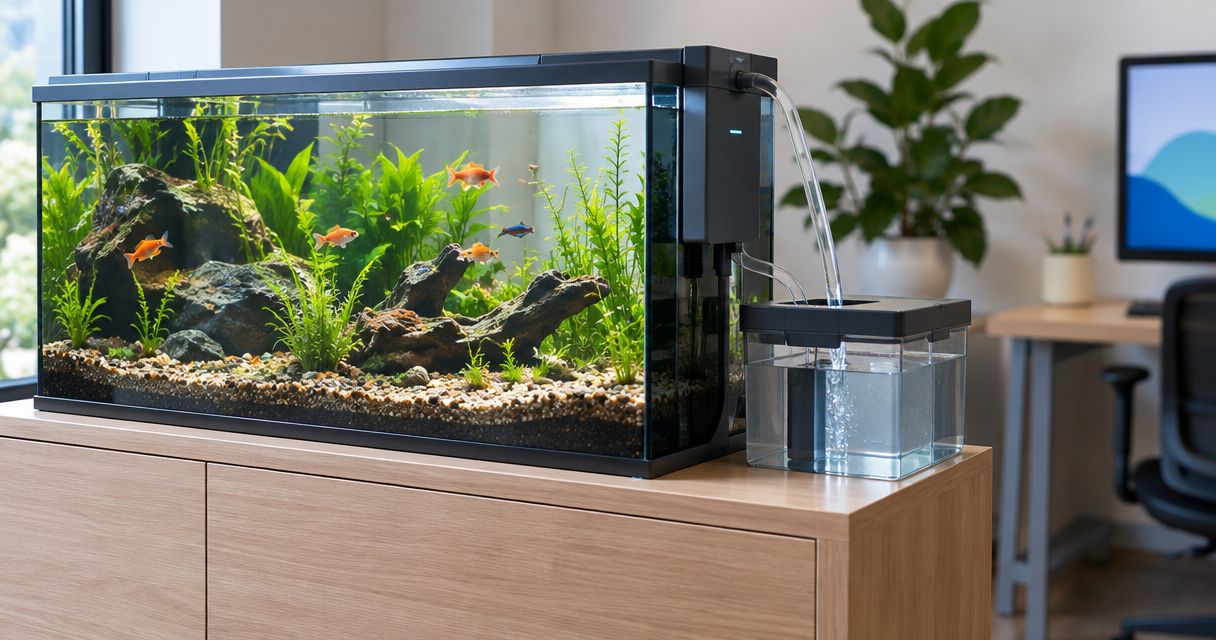
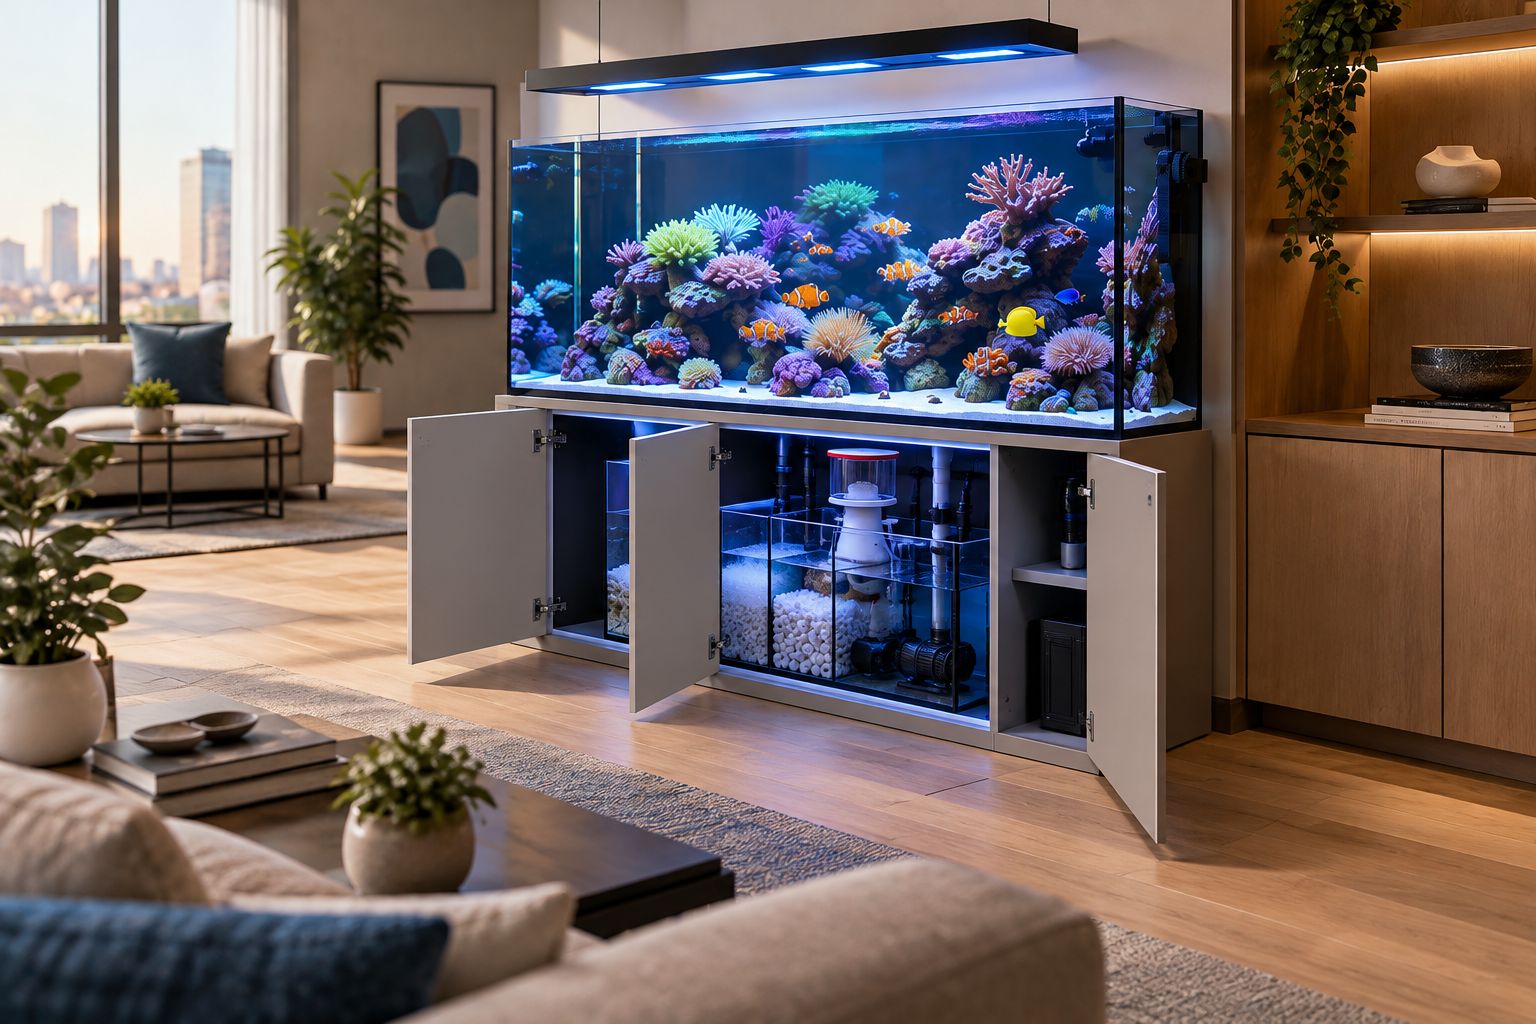
The main design constraint is access. A skimmer that fits inside a cabinet still needs room to lift out, while an attractive recessed tank still needs reachable glass, plumbing and pumps. Concealing equipment without planning its removal creates a maintenance problem inside finished joinery.
For your 2026 project brief, define who will run the reef before defining its final appearance. An experienced hobbyist and a client relying on a maintenance provider need different handover documents, storage arrangements and monitoring responsibilities.
How to specify a reef display that remains serviceable
Use a design sequence that connects the livestock brief to the physical installation. Each decision should leave room for the next: coral selection affects lighting and flow, while equipment selection affects access and cabinetry.
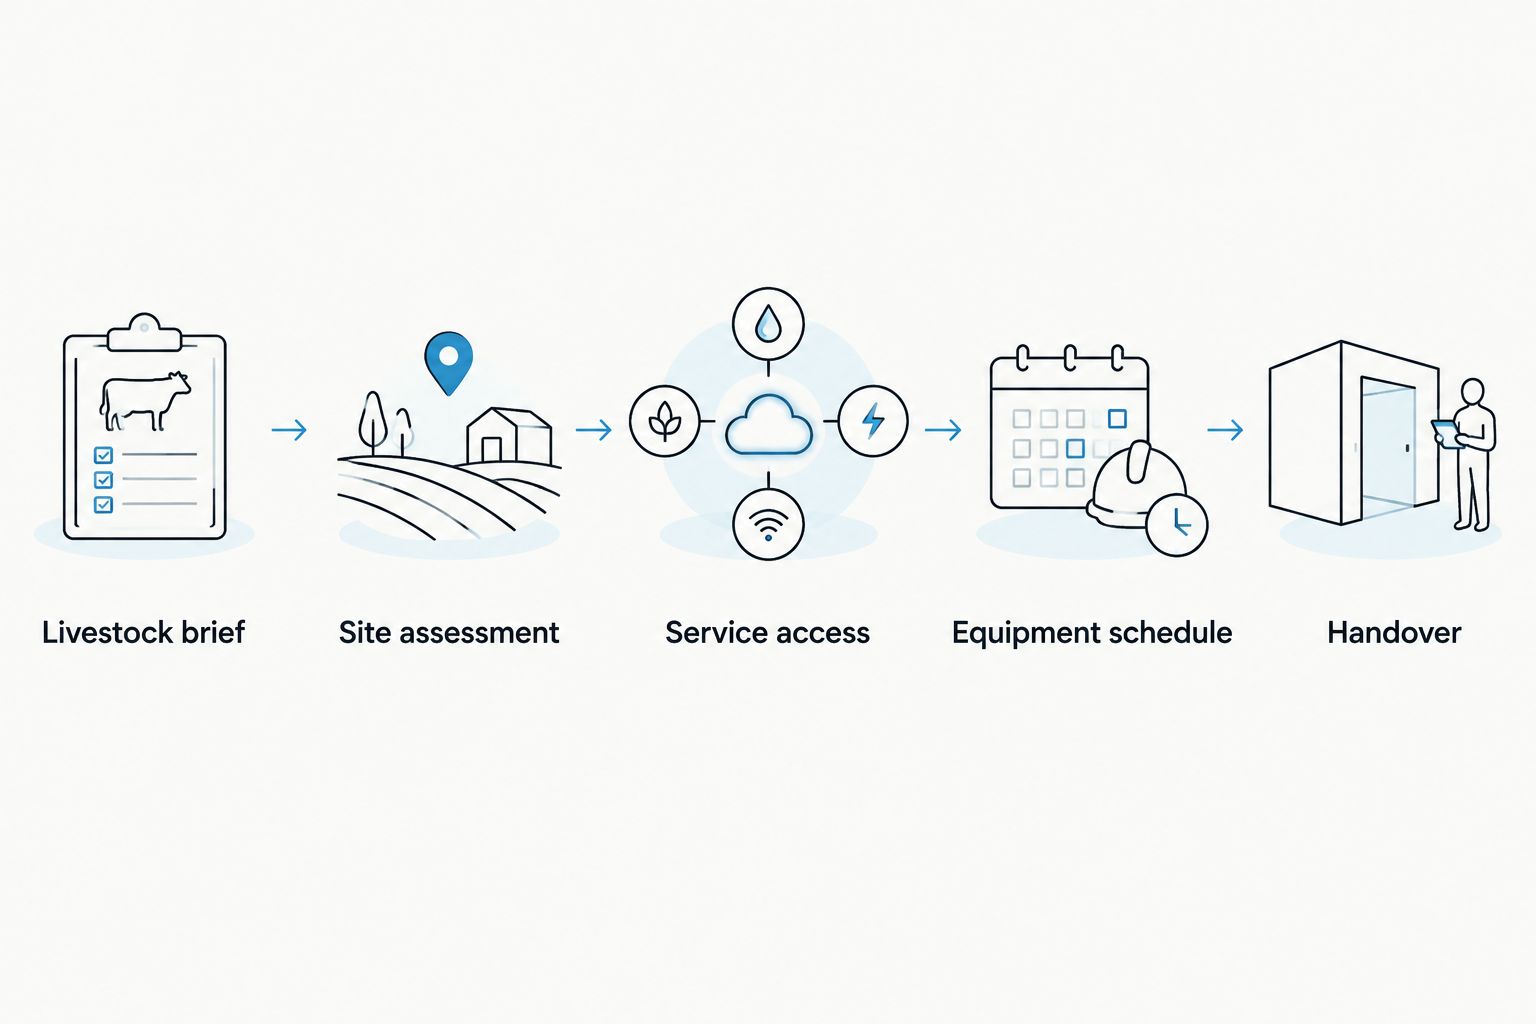
1. Define the livestock brief
Start with a written brief and reference images rather than an equipment order. Ask whether the client wants fish with a modest coral display, a soft-coral reef, an LPS-focused tank or an SPS system. Those choices change the lighting, circulation and testing requirements.
Best for a first reef installation: a livestock plan matched to the keeper’s experience. SPS generally demands closer attention to stable chemistry and suitable light and flow than a beginner soft-coral display. Neither category removes the need for cycling, testing or maintenance.
Record the intended viewing experience too. A reef designed for a lounge should be assessed from the sofa, not only from the standing position used in an aquarium showroom. Put livestock suitability ahead of a requested colour scheme.
- Write a Livestock brief covering fish, coral groups and keeper experience.
- Identify who approves livestock additions after handover.
- Record the main viewing positions and nearby activities.
- Separate essential equipment from later upgrades.
- Keep coral selection provisional until the reef is ready.
2. Assess the site before drawing the cabinet
Begin with a site survey and a taped-out tank footprint. Review daylight, adjacent finishes, walking routes and the practical route for bringing the tank into the room. Ask the relevant professional to assess the filled installation’s load; tank dimensions alone do not establish structural suitability.
Prepare 3 drawings: a plan, a front elevation and a service section. These are design deliverables, not universal clearance specifications. Use the selected equipment’s actual dimensions and removal paths to establish the space each drawing needs.
Check the display from 2 viewing heights: seated and standing. This exposes glare, visible cables and awkward canopy edges before fabrication. Direct sunlight also introduces heat and lighting variables that your room design should address.
- Complete a Site assessment before approving the tank position.
- Request assessment of the filled tank, cabinet and supporting structure.
- Map the delivery route through doors, stairs and corners.
- Check daylight, glare and nearby temperature sources.
- Locate water preparation and wastewater handling areas.
3. Select the tank format around service access
Start by comparing a freestanding display with a built-in installation. Freestanding systems leave more of the equipment arrangement visible and accessible; built-in systems integrate with joinery but require deliberate access panels, ventilation and removal routes.
Krakking Korals provides a retail sourcing path for reef aquarium equipment once you have defined the format. Do not treat a tank model name as proof that a complete installation is included. Confirm the exact tank package, plumbing, cabinet and equipment requirements before preparing the purchase schedule.
Best for built-in displays: access designed around the largest removable component. Use a cardboard template or dimensioned equipment outline to test removal through the proposed opening. A door that reveals the sump is not necessarily large enough to extract a skimmer.
Your 2026 joinery schedule should distinguish wet service areas from dry electrical storage. Decorative panels must not block inspections, ventilation or the normal cleaning route.
- Draw Service access around removable equipment, not just the sump footprint.
- Confirm what the chosen tank package includes.
- Show the route for lifting out skimmers and pumps.
- Keep frequently serviced components reachable.
- Provide access to plumbing connections and isolation points.
- Check finish suitability with the joiner or material supplier.
4. Match lighting and circulation to the coral plan
Start with the intended coral groups and aquascape. Position lighting to serve the reef, then assess how the mounting arrangement looks from the room. An interior lighting scheme cannot replace lighting selected for photosynthetic corals.
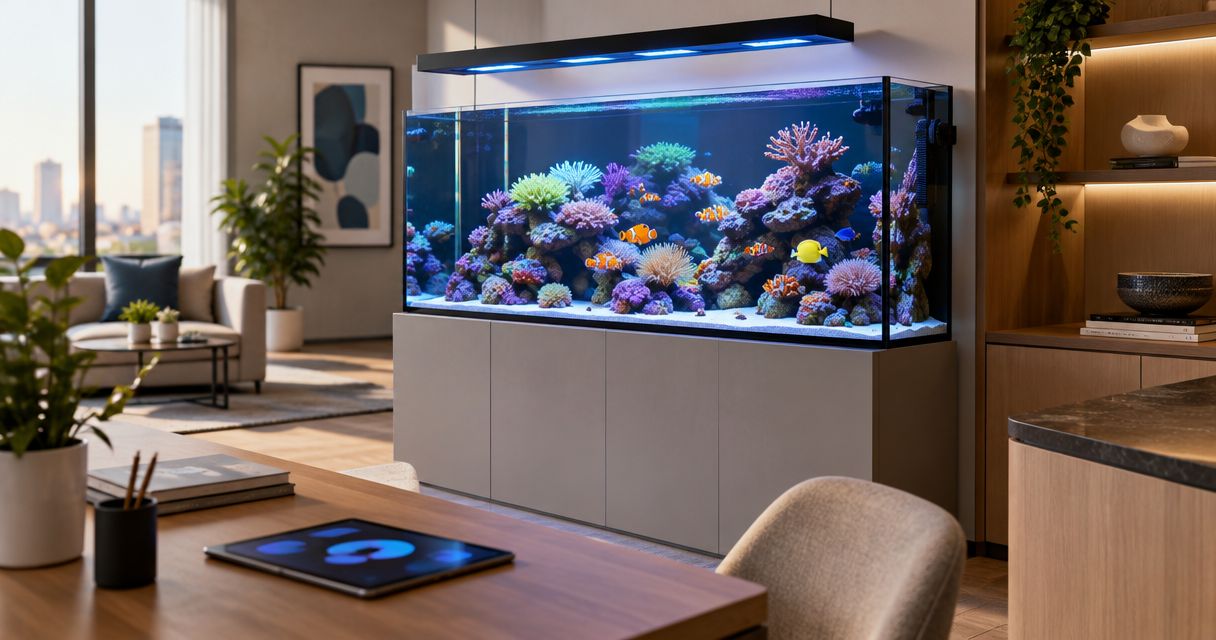
Best for mixed-use rooms: reef lighting assessed from both inside and outside the aquarium. Blue reef light changes the appearance of nearby surfaces, so inspect its spill onto walls, artwork and seating. A canopy or shield must still allow cooling and maintenance access.
For circulation, plan where pumps sit and which rock faces they reach. Avoid choosing a wavemaker solely because it is easy to hide. Coral requirements, substrate movement and maintenance access belong in the same decision.
Keep decorative room lighting separate from the reef’s lighting schedule. The client needs to understand that changing the display’s light for an evening event can also change the conditions experienced by its corals.
- Build the Equipment schedule around the planned coral groups.
- Confirm light coverage for the tank’s dimensions and aquascape.
- Review spill from seated and standing positions.
- Preserve access to light mounts and power supplies.
- Position circulation pumps for flow and cleaning access.
- Record the reef lighting schedule in the handover.
5. Plan water handling and filtration together
Start with a manual water-change route: where clean water is prepared, how it reaches the tank and where wastewater goes. This exercise identifies practical constraints before you consider automatic top-off, dosing or automatic water changes.
Evaporation removes water while leaving salt behind, so routine top-off uses suitable freshwater rather than replacement saltwater. The reservoir needs access for refilling and inspection. Hiding it behind fixed panels makes an ordinary task unnecessarily difficult.
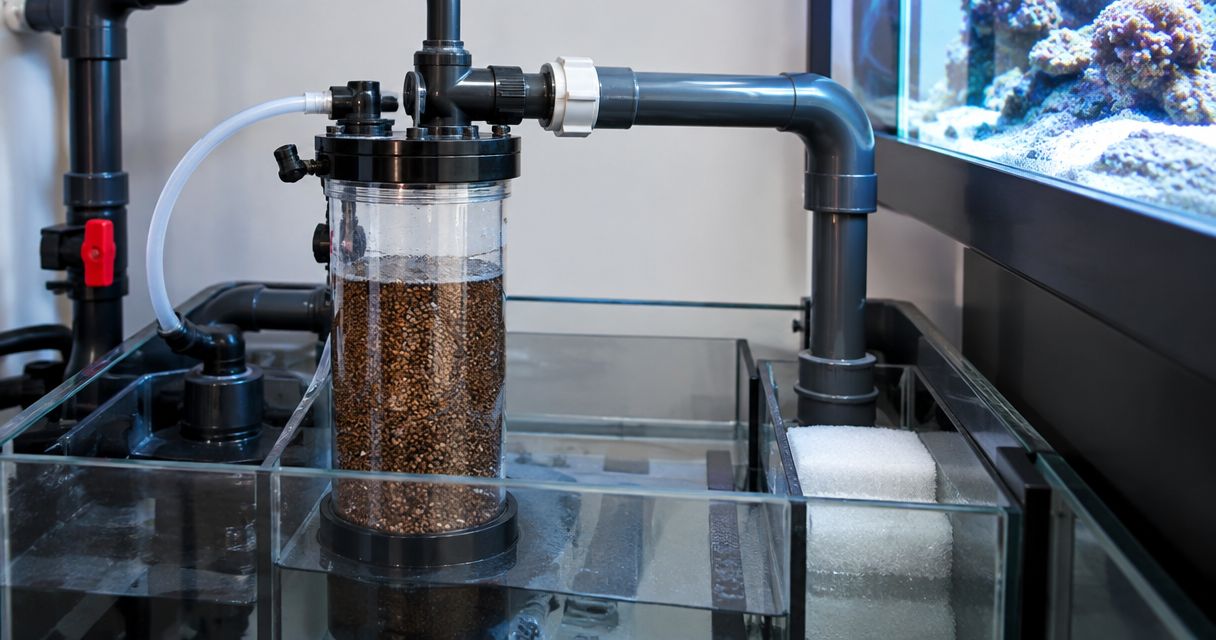
Best for a maintained residential display: filtration that the keeper can remove and clean. Skimmers, mechanical filtration and return pumps need an accessible service area. Their suitability depends on the system, livestock and operating plan, not simply on how much cabinet space remains.
For 2026 installations, include consumables storage in the design. Salt, test reagents, cleaning tools and maintenance containers need somewhere practical to live; the sump cabinet should not become the default store for everything.
- Map the clean-water and wastewater routes.
- Allocate accessible freshwater reservoir storage.
- Confirm filtration dimensions and removal clearances.
- Separate dry supplies from splash-prone areas.
- Provide a practical place to clean removed equipment.
- Identify refill, cleaning and replacement responsibilities.
6. Choose monitoring after defining the response plan
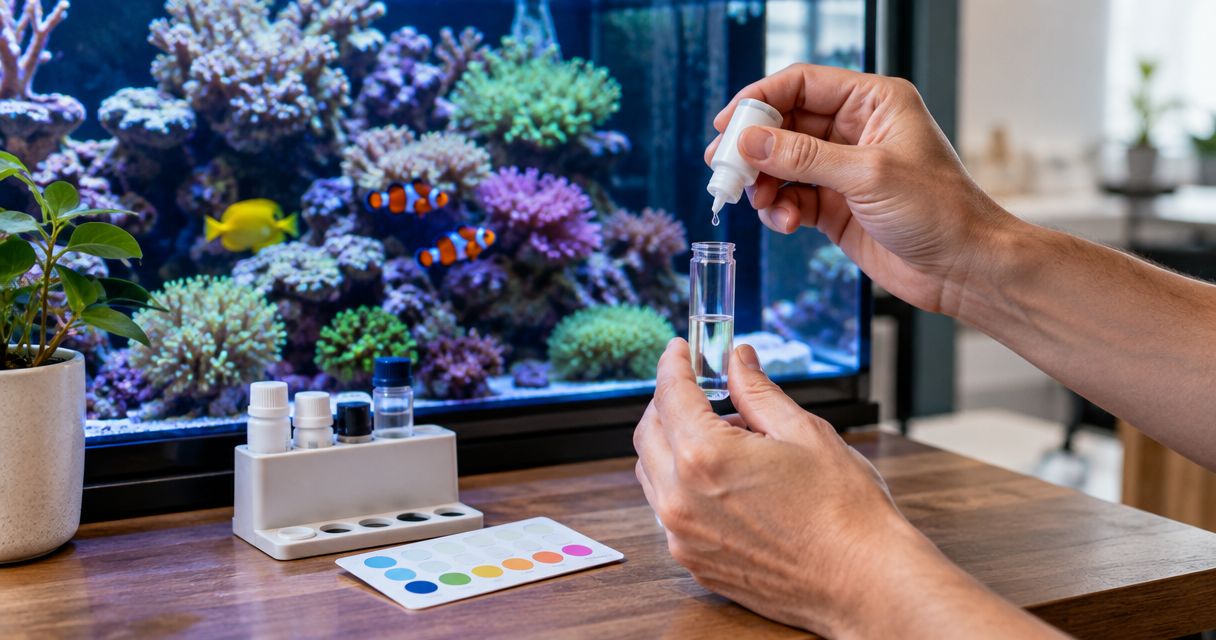
Start with manual testing, a written log and an agreed maintenance schedule. These establish who checks the reef and what happens when a reading needs attention. Automation is useful only when someone understands the result and takes responsibility for the response.
A controller is a faster path to supported monitoring and control functions, not an automatic maintenance service. The A3 Apex Jr description specifies temperature, pH and water-level monitoring with an included leak-detection sensor. The A3 Apex Pro description explicitly states that its power board is not included.
Best for remotely supervised displays: monitoring with a named responder. Verify the exact sensors, controlled devices, electrical requirements and dependencies for the selected package. Do not assume that every controller bundle measures or operates every part of the reef.
- Name the person who receives and acts on alerts.
- List the measurements required for the livestock plan.
- Confirm included sensors and separately required components.
- Document manual operation when automated functions are unavailable.
- Keep controller hardware accessible for inspection.
7. Commission the installation before adding livestock
Start with physical checks, not an opening-day livestock order. Have the installer verify plumbing operation, normal running water levels and shutdown behaviour before the system becomes a stocked reef. Electrical work and wet-area planning belong with an appropriately licensed electrician.
Specify 1 documented shutdown test in the commissioning checklist. Record what happens when circulation stops, including where water settles and how the system restarts. This is a project acceptance task, not a guarantee against every failure.
Best for a client handover: demonstrated maintenance, not a folder alone. Show the keeper how to access equipment, top off, test water and clean the glass. Establish biological filtration through cycling and use testing to assess readiness rather than promising livestock on a calendar date.
- Complete a Handover with the named keeper or maintenance provider.
- Record shutdown and restart behaviour.
- Demonstrate equipment removal and routine cleaning.
- Label equipment and document its purpose.
- Confirm cycling and testing before stocking.
- Record the plan for holidays and unattended periods.
Compare monitoring options for an interior-designed reef
Choose the operating approach before choosing the controller package. The following options suit different supervision needs; none removes physical cleaning, equipment inspection or livestock observation.
| Option | Best for | Main advantage | Key limitation |
|---|---|---|---|
| Manual testing and written log | A reef with an actively involved keeper | Makes checks and observations part of the routine | Requires consistent attendance and recording |
| A3 Apex Jr Aquarium Controller System - Neptune Systems | Projects needing temperature, pH, water-level and leak monitoring | Its description identifies those monitoring functions and an included leak sensor | Confirm additional components for functions beyond the stated monitoring brief |
| A3 Apex Aquarium Controller System - Neptune Systems | Projects assessing aquarium monitoring and control | The supplied description identifies monitoring and control capabilities | Confirm the exact package and controlled-device requirements |
| A3 Apex Pro Aquarium Controller System - Neptune Systems | Projects assessing a monitoring and control system | The supplied description identifies monitoring and control functions | The power board is not included |
Krakking Korals supplies reef aquarium equipment, but the equipment schedule still needs project-specific checks. For a 2026 specification, confirm package contents and installation requirements before the client approves the order.


Common mistakes interior designers make
- Approving joinery before equipment removal paths. Require the service section before fabrication; cabinet volume does not prove access.
- Treating reef lighting as decorative lighting. Specify for the corals, then manage spill and the room’s viewing experience.
- Concealing every cable and pipe behind fixed panels. Keep inspection points accessible without dismantling finished joinery.
- Equating automation with unattended care. Assign alert response, refilling, cleaning and livestock checks to a named person.
- Scheduling livestock around the project reveal. Separate practical completion from biological readiness and stocking decisions.
FAQ
What reef aquarium equipment should an interior designer specify first?
Specify the tank format and service access after defining the livestock brief. Then select lighting, circulation, filtration, water handling and monitoring around that plan.
Can I hide all the reef aquarium equipment inside cabinetry?
You can conceal equipment only where the design preserves ventilation, inspection and removal access. Fixed decorative panels must not obstruct routine servicing.
Is an aquarium controller better than manual testing?
An aquarium controller supports the measurements and functions included in its package; it does not replace all manual testing. Choose it around a documented monitoring and response plan.
Does Krakking Korals install bespoke aquariums for interior designers?
Krakking Korals is an Australian online retailer of marine livestock and reef aquarium equipment. Arrange project-specific structural, electrical and installation responsibilities separately.
What is the best reef lighting for a living room aquarium?
The best reef lighting matches the intended corals, tank dimensions and aquascape. Assess mounting, maintenance access and light spill from the room’s main viewing positions.
Can a new reef aquarium be stocked for the project opening?
Stock a new reef aquarium only after cycling and testing establish readiness for the planned livestock. A project opening date does not establish biological readiness.
Who should maintain a reef aquarium after handover?
A named keeper or maintenance provider should own the reef’s routine care. Record responsibility for testing, cleaning, refilling, alerts and holiday cover before handover.
One last thing
Ask someone to demonstrate removing the skimmer before you approve the cabinet. That practical check connects the equipment drawing to the real service opening. If removal requires dismantling finished joinery, revise the design before fabrication rather than leaving the problem to the keeper.